
To convert the time format from 12 hours to 24 hours, first, read the time in the 12-hour format (AM/PM format). Then, convert the time into LocalDateTime.
After converting the time into string format, add the format “yyyy-MM-dd HH:mm:ss. SSS’Z'”. This conversion will change the 12-hour time format into a 24-hour time format. Below is a screenshot and the code for reference.
Note: In Time, we are adding “HH” to indicate that it should be in 24-hour format.
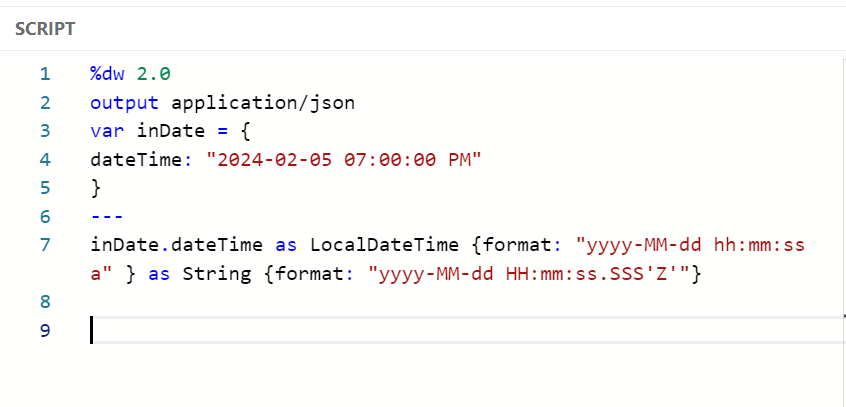


Here is the Code:
%dw 2.0
output application/json
var inDate = {
dateTime: “2024-02-05 07:00:00 PM”
}
—
inDate.dateTime as LocalDateTime {format: “yyyy-MM-dd hh:mm:ss a” } as String {format: “yyyy-MM-dd HH:mm:ss.SSS’Z'”}
How can I convert a date and time from a 24-hour format to a 12-hour format?
To convert 24-hour time format into 12-hour time format, begin by converting the 24-hour format into a DateTime Format structure. Replace the space ” ” with “T” in the DateTime Format structure, then add ‘yyyy-MM-dd hh:mm:ss a’. This process will effectively convert the 24-hour time format into a 12-hour time format. Please refer to the screenshot and code below for guidance.
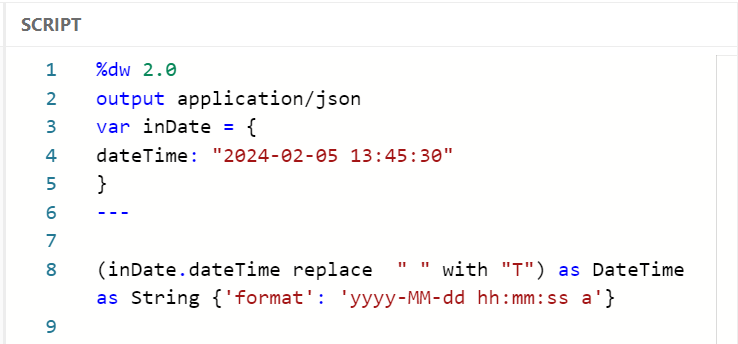


Here is the Code:
%dw 2.0
output application/json
var inDate = {
dateTime: “2024-02-05 13:45:30”
}
—
(inDate.dateTime replace ” ” with “T”) as DateTime as String {‘format’: ‘yyyy-MM-dd hh:mm:ss a’}
Find Current DateTime & Only Date?
To find the current date and time, we need to use the now() function.
If we only need the date, we can utilize the pre-defined function today(). This function will print only today’s date.
For all date and time functions, we need to import the pre-defined date package using “import from dw::core::Dates”.


Here is the Code:
%dw 2.0
import * from dw::core::Dates
output application/json
—
now()
In order to print only today’s day, we use below code.
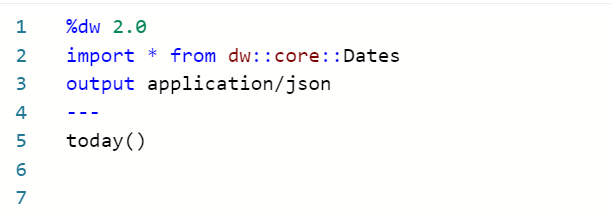


Here is the Code:
%dw 2.0
import * from dw::core::Dates
output application/json
—
today()
How can I find Only Time in the format of Hours, Minutes, Seconds, and Milliseconds (3 digits)?
In some scenarios, we may need to change the structure of date time formats in DataWeave. First, we need to check if the input is in DateTime format. Convert the input into DateTime format, and then add our required format.
For example, my requirement is to print only the time with hours, minutes, seconds, and 3-digit milliseconds. To meet this requirement, we need to add ‘hh:mm:ss. SSS’.
Here, the first two “hh” represent hours, followed by “mm” for minutes, and “ss” for seconds. As per my requirement, milliseconds should be in 3 digits, so we use “SSS” to print 3-digit milliseconds. Here, “SSS” represents milliseconds.
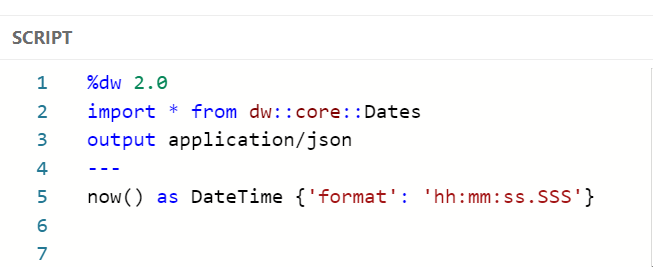


Here is the Code:
%dw 2.0
import * from dw::core::Dates
output application/json
—
now() as DateTime {‘format’: ‘hh:mm:ss.SSS’}
How to convert one Time Zone to another Time Zone?
In some cases, we might encounter a scenario where we need to change the current time zone to another time zone.
For example, you may need to change the time zone from the current zone to IST, CST, UTC, etc.
In these cases, we can easily achieve this in DataWeave by using the “>>” symbol.
In my case, as per the code below, I have changed my current time zone to “CST”.
Here is the code:
%dw 2.0
output application/json
—
now() >> “IST”
After successfully converting the timezone, the next step is to convert the format to “dd-mm-yyyy hh-MM-ss” as per the requirements.
Here is the code:
%dw 2.0
output application/json
—
{
“convertedTIme”: (now() >> “CST”) as DateTime {‘format’: ‘dd-MM-yyyy hh:MM:ss’}
}
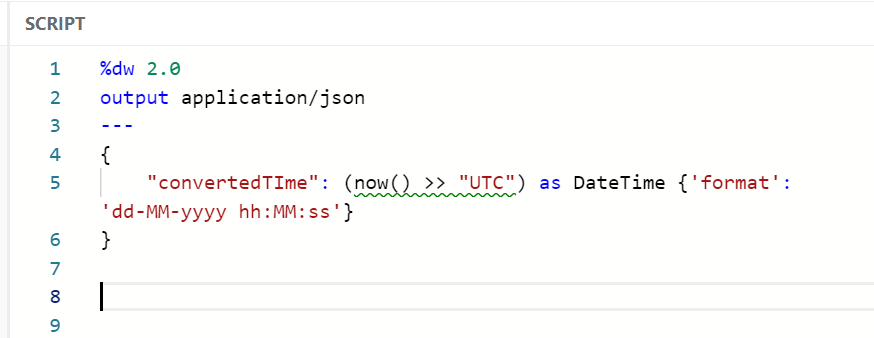
In below code, we are converting our current timezone to “UTC” timezone. Here is the code
%dw 2.0
output application/json
—
{
“convertedTIme”: (now() >> “UTC”) as DateTime {‘format’: ‘dd-MM-yyyy hh:MM:ss’}
}


How to Increment Days (adding days to the current date)?
In this topic, we will discuss incrementing/adding days to the current date or a custom date. Sometimes, we may encounter a scenario where we need to add an extra 5 days to the current date or add 12 days to a custom date. In such cases, we can add days using |P5D| or |P12D| to our current/custom dates.Here, “P” stands for a period of time. “|P5D|” represents a period of 5 days.
Note: In “|P5D|” or “|P12D|”, the number indicates the number of days to be used in our code.


Here is the code:
%dw 2.0
output application/json
—
“2024-02-09” + |P5D|
For example, in the code above, we used a custom date of “2024-02-09” and added 5 days to it. This was achieved by including |P5D| in the code, resulting in the date “2024-02-14”. Similarly, adding 11 days to the custom date with |P11D| will yield “2024-02-20”. Additionally, to add a specific number of days to the current date, you can use “now() >> |P5D|”.
Here is the code:
%dw 2.0
output application/json
—
“2024-02-09” + |P11D|
How to Decrement days (subtracting days to the current date)?
In this topic, we will discuss decrementing days. Sometimes, we may encounter scenarios where we need to subtract 5 days from the current date or subtract 11 days from the current/custom date. In such cases, we can use |P5D| or |P11D| to define the period of dates relative to our current/custom dates. Here, “P” represents a period of time, and |P5D| represents a period of 5 days.
Note: In |P5D| or |P11D|, the number indicates the number of days to be used in our code.
Here is the code:
%dw 2.0
output application/json
—
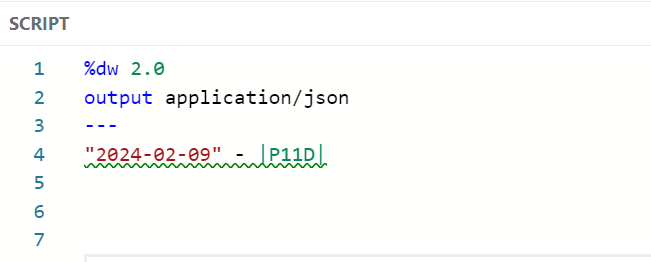
“2024-02-09” – |P11D|
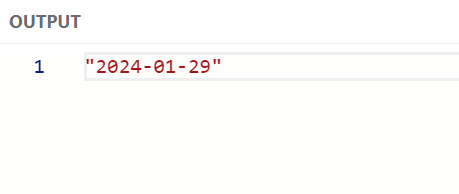
For example, consider the code above. We used a custom date, “2024-02-09,” and subtracted 11 days from it. To achieve this, we included “|P11D|” in our code. Consequently, after subtracting 11 days from the custom date, our result is “2024-01-29.” Similarly, we can subtract 5 days from our custom date by adding “|P5D|,” resulting in the output “2024-02-04.”
We have clearly elaborated on the date format change in DataWeave, Hope it has helped you with your task. For more such information and queries, please write to us at [email protected].
